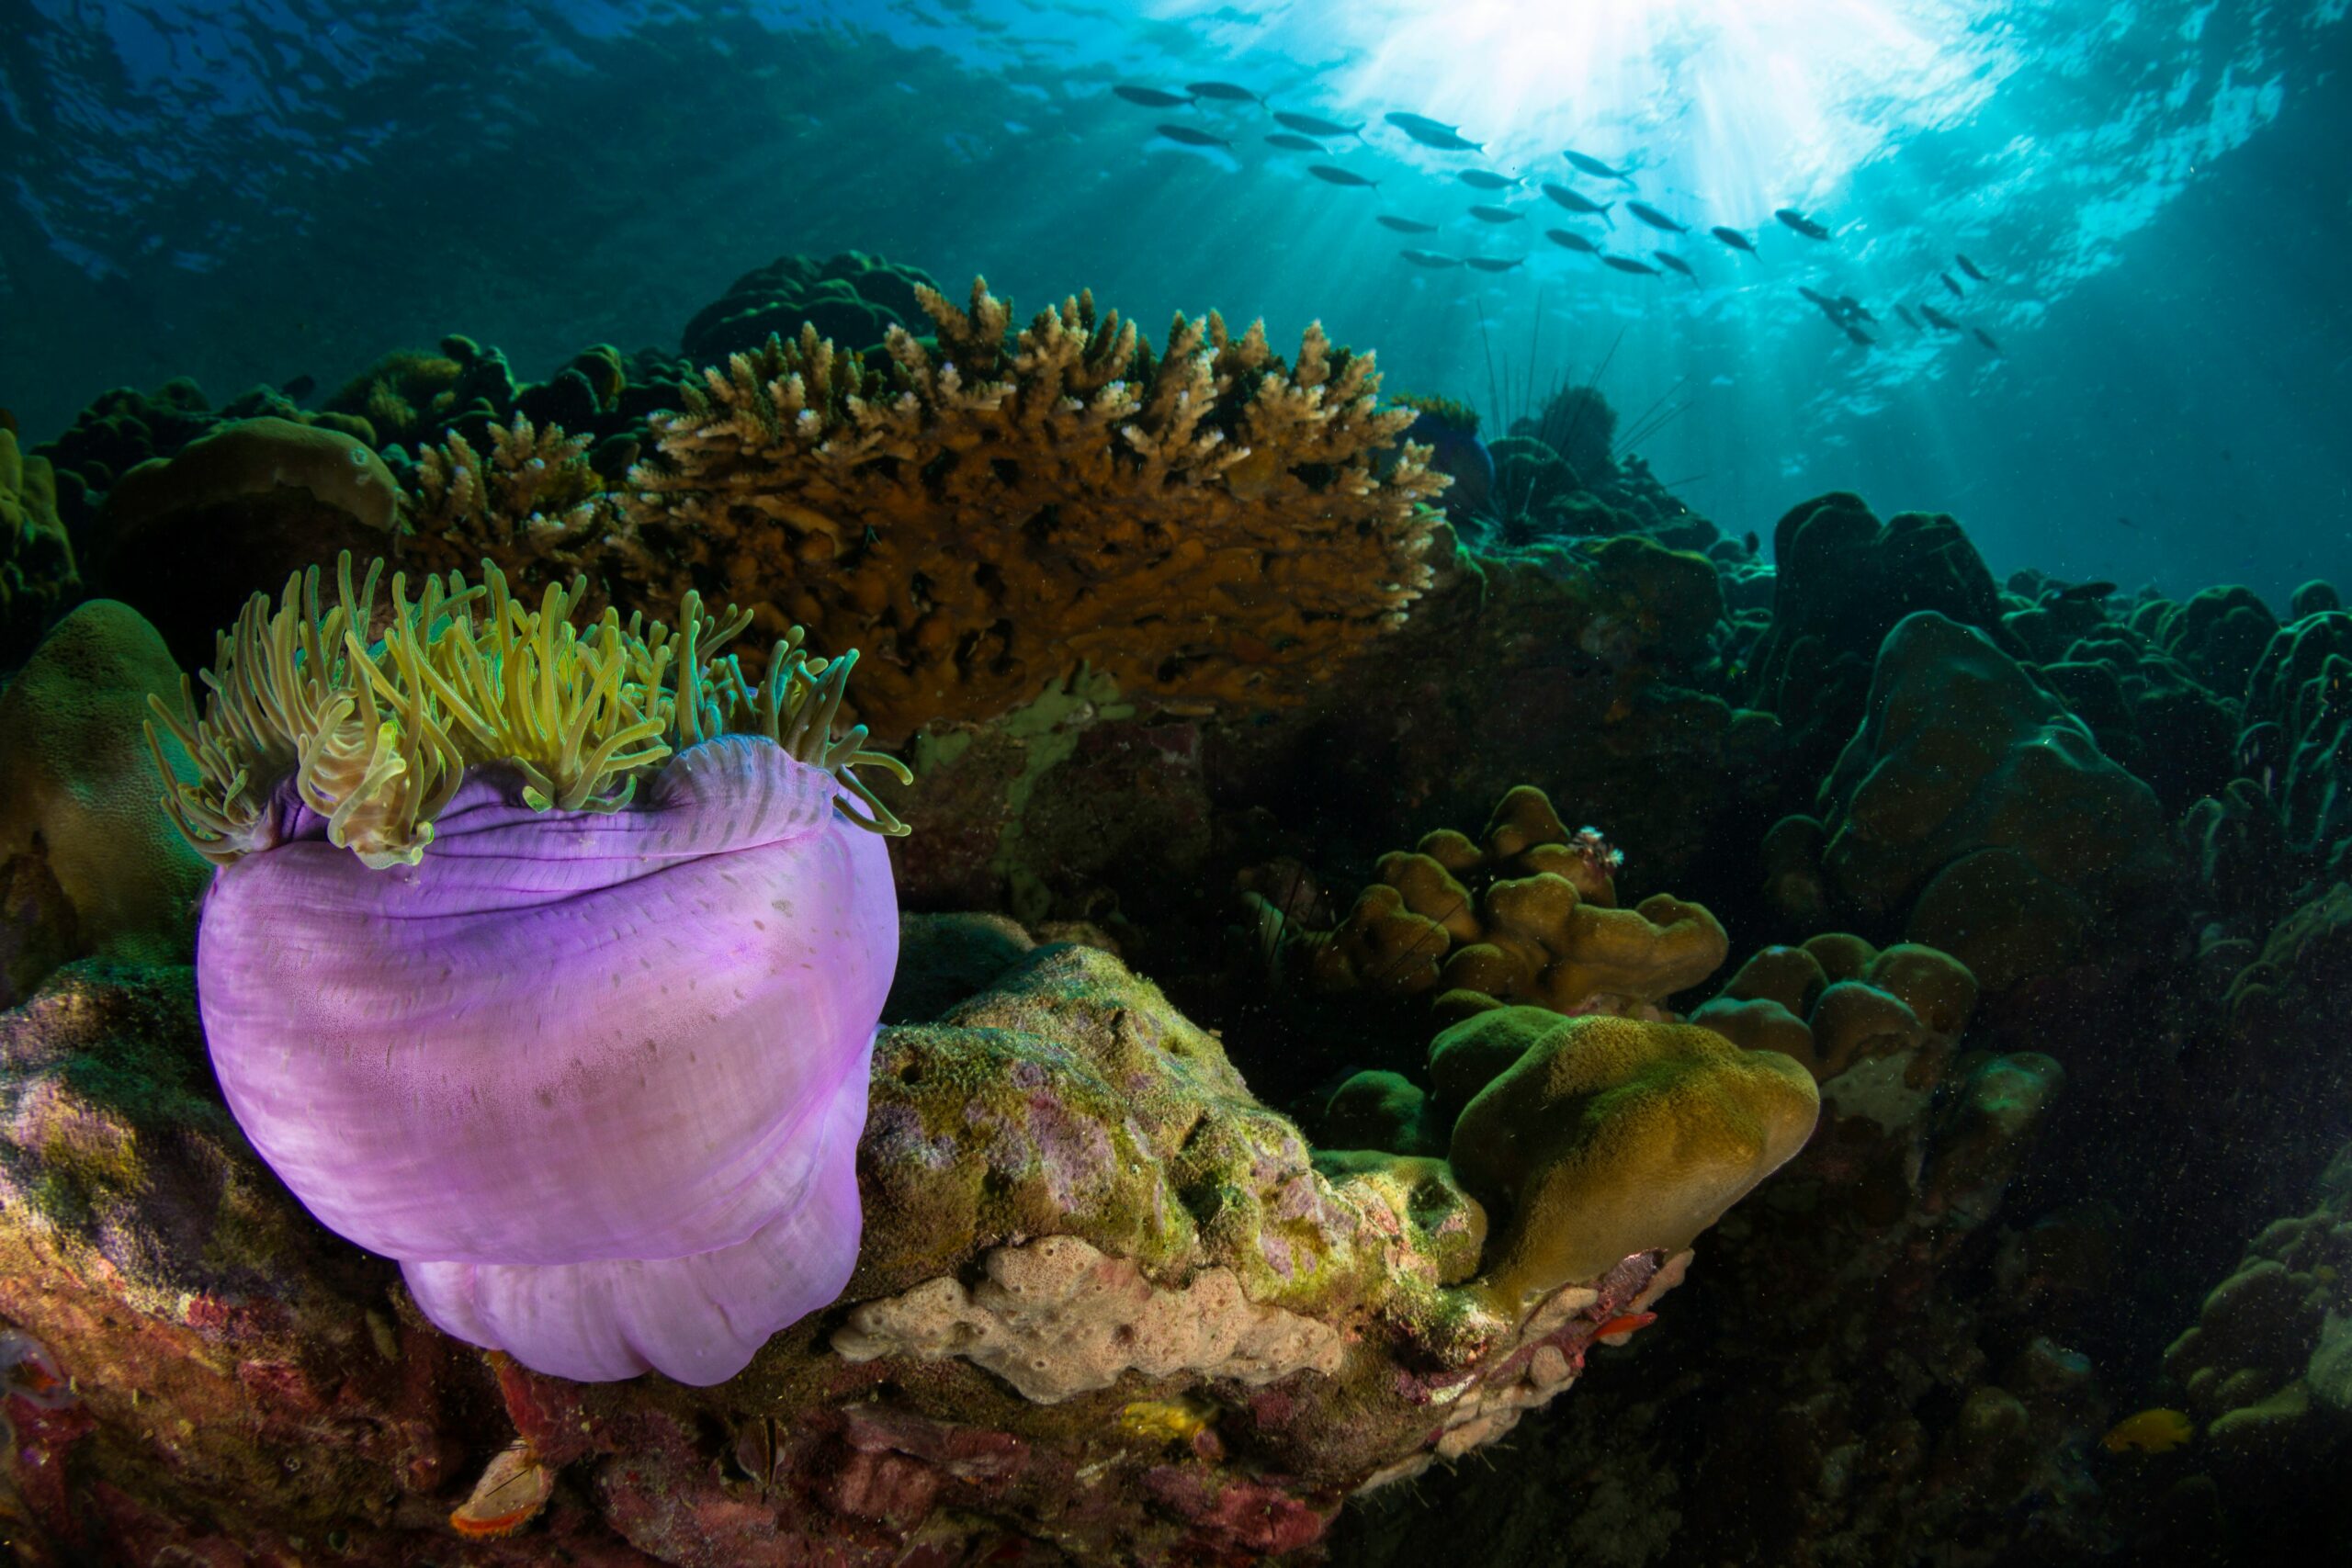
Every dive reveals a trove of memories just begging to be photographed. Underwater photography lets
you revisit contacts with brilliant schools of fish, complex coral formations, and even the unexpected
grace of sea turtles, thereby saving those wonderful snorkeling moments. Snorkeling provides a special
benefit as it helps you get up close and personal with sea life, therefore presenting a more intimate
perspective than any other diving technique. All you need as a novice is the correct gear, some time, and
a few basic ideas to turn your snorkeling excursions into stunning, long-lasting images.
Selecting the Appropriate Underwater Camera
When photographing the underwater environment, especially when snorkeling puts you closer to the
surface, where natural light is plentiful, the appropriate camera may make all the difference. For
instance, if you’re participating in Kauai snorkeling tours, having a good camera is essential for capturing
the vibrant colors and unique ambiance of the underwater world. These tours provide a remarkable
opportunity to explore the stunning marine life, from vivid coral reefs to playful fish. A quality camera
allows you to document these unforgettable moments and share the beauty of your adventure with
others. Whether you’re snorkeling alongside sea turtles or swimming through schools of colorful fish,
being able to photograph these experiences enhances your overall enjoyment. Start with an action
camera designed for underwater usage, such as a GoPro or another type that offers high-quality
photographs and movies in a small package but is waterproof. Think of a camera with white balance and
exposure adjustment options; these are crucial to highlight the colors that underwater photographers
can lose. Should your snorkeling excursions span shallow seas, a waterproof camera housing might
provide another layer of safety.
Mastering Natural Lighting
When photography underwater, natural light is your friend; knowing its behavior can help you to
improve your images. Usually occurring around mid-morning, the magic occurs when the sunlight strikes
the water at an angle that allows for good penetration. This time of day sharpens colors and lessens
shadows that can hide features. Always orient yourself with the sun at your rear; this produces equal
lighting throughout your subject and highlights the actual colors of the coral and marine life below. The
deeper you go, the light fades, and colors begin to fade; first, reds and oranges go. To offset lost warmth
and color, change the white balance of your camera.
Getting Near to Your Subject
Distance is your opponent in underwater photography. Apart from diffusing light, water also lessens
clarity the further you are from your topic. Get as near as you can—ideally within a meter—to get the vivid colors of a fish’s scales or the texture of coral. Many novices make the mistake of zooming in,
which compromises image quality; instead, they depend on physically approaching for a clear, vivid
capture. Approaching aquatic life calls for a careful hand. Swim gently and keep away from upsetting
fish and other sea life, as they are quite sensitive to unexpected motions. To reduce water movement
and thereby blurriness, position yourself steadily.
Composing Your Pictures
By capturing the depth and texture of underwater sceneries, a well-written picture may enthrall viewers
in the shot. Aim somewhat higher to experiment with angles; this produces a startling contrast between
the subject and the surface, therefore adding drama and context to the image. Search for natural frames that provide layers to guide the eye toward your subject and give depth to the composition—rocks,
coral, or plant life. Try not to frame a photo with your subject dead center. Slightly offset them to one
side to create a balanced yet dynamic image with movement and space captured.
Getting Colors and Contrast
Underwater, since water absorbs and distorts light, colors might seem washed out or subdued. Bringing
out the vividness of sea life depends on mastery of color balance. Should your camera have a manual
white balance option, change it to recover yellows and reds. This change will make a boring, blue-tinted
picture dynamic and reflect the actual beauty of your surroundings. Another useful item is polarized
filters, which lower glare on the water’s surface, improving contrast and clarity. Try different angles and
light sources; sometimes, a small change may greatly affect color depth. Furthermore, consider
shadows. Sunlight may produce amazing patterns on the ocean floor or the edges of coral formations in
shallow seas, therefore enhancing the visual appeal of your pictures.
Conclusion
One may preserve the beauty of the ocean by means of underwater photography. Every glance takes
you back to those calm aquatic realms and catches a brief flash of beauty and mystery. Your underwater
images will portray the vivid stories of the ocean, alive and always kept, not only capture memories with
time and effort.
